本文簡單介紹一下,在spring boot 中如何使用Listener。
本文使用版本:
spring boot 2.7.5
java 11
window 11
IntelliJ IDEA
Maven
一、建立 Spring Boot web 來測試
參考本文:
Spring Boot web 專案 RestController Annotation
二、pom.xml 的 dependencies 加入 測試類啟動器
<dependency>
<groupId>org.springframework.boot</groupId>
<artifactId>spring-boot-starter-web</artifactId>
</dependency>
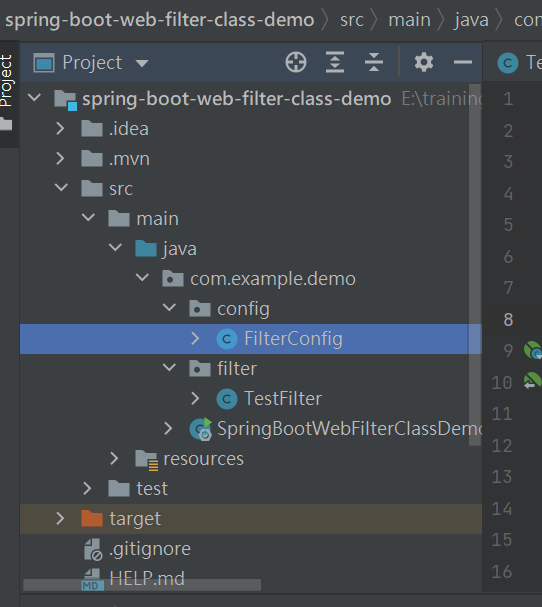
三、建立 TestListener 及 ListenerConfig
src\main\java\ (專案package)
路徑如圖1:

四、TestListener 程式內容
本文 TestListener 程式使用簡單寫法。
	package com.example.demo.listener;

	import javax.servlet.ServletContextEvent;
	import javax.servlet.ServletContextListener;

	public class TestListener implements ServletContextListener {
		@Override
		public void contextInitialized(ServletContextEvent sce) {
			System.out.println("Initialized Listener...");
		}

		@Override
		public void contextDestroyed(ServletContextEvent sce) {
			System.out.println("Destroyed Listener...");
		}
	}
五、加入config類
package com.example.demo.config;

	import org.springframework.boot.web.servlet.ServletListenerRegistrationBean;
	import org.springframework.context.annotation.Bean;
	import org.springframework.context.annotation.Configuration;

	import com.example.demo.listener.TestListener;

	@Configuration
	public class ListenerConfig {
		@Bean
		public ServletListenerRegistrationBean getServletListenerRegistrationBean(){
			ServletListenerRegistrationBean bean = new ServletListenerRegistrationBean(new TestListener());
			return bean;
		}
	}
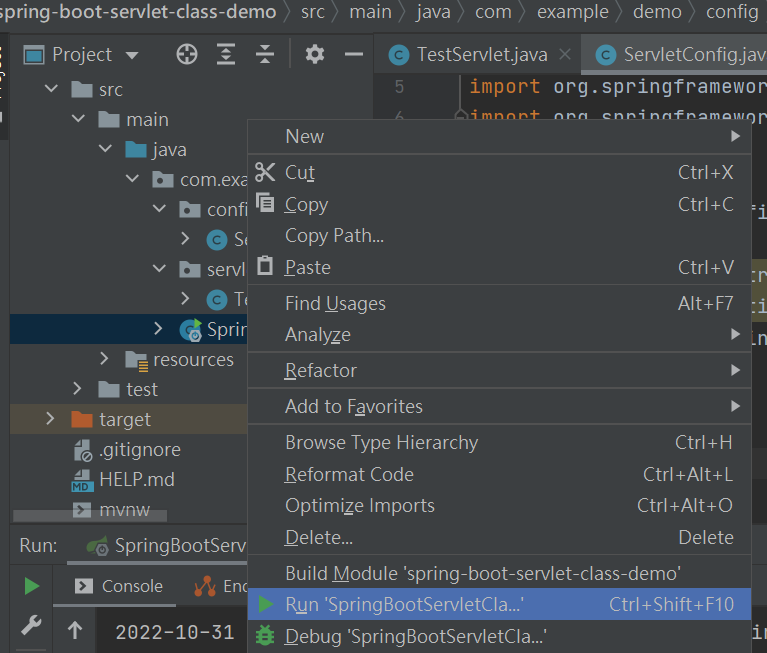
六、啟動 Application
圖2

七、測試
圖3

本專案下載:
用LINE傳送分享
其它文章